It only takes a few minutes to setup your account and to order your beacons. Just follow the steps below.
Create an Account
- Go to the Float Control Panel login page.
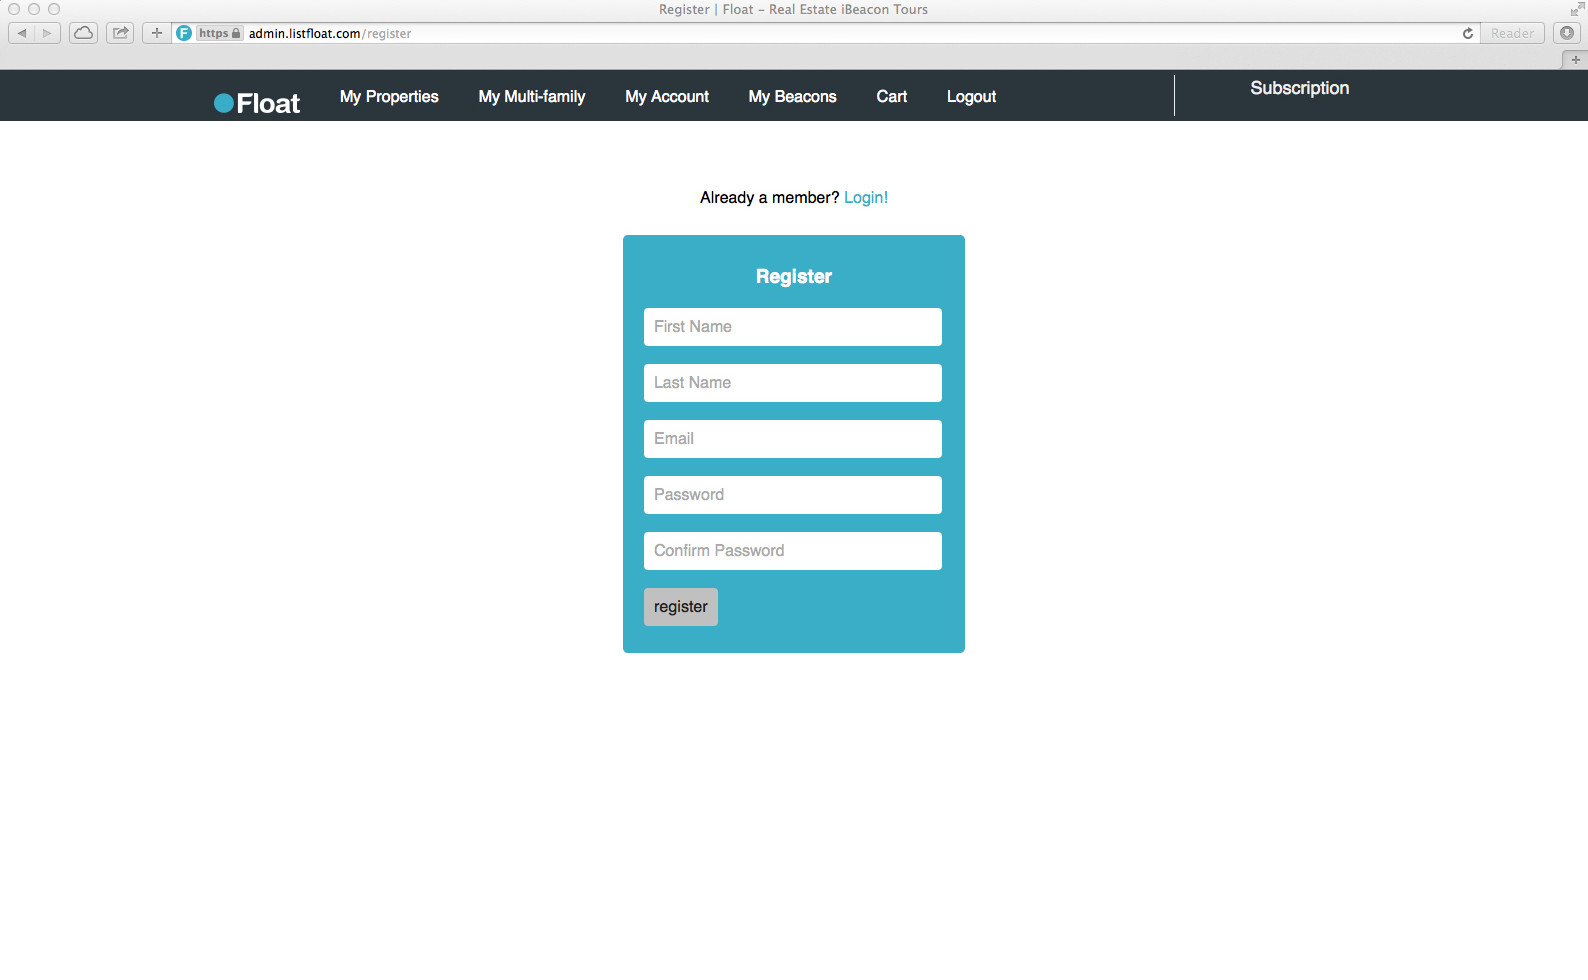
- Fill out the form to create an account, or login if you’re already registered.
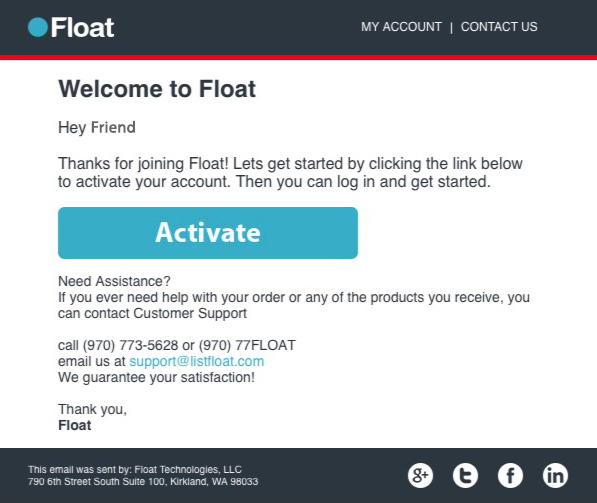
- Click the link in the activation email sent to you to complete registration. If you don’t receive the email within a few minutes, please be sure to check your spam folder or contact the administrator.
- Follow the steps to login to your account.
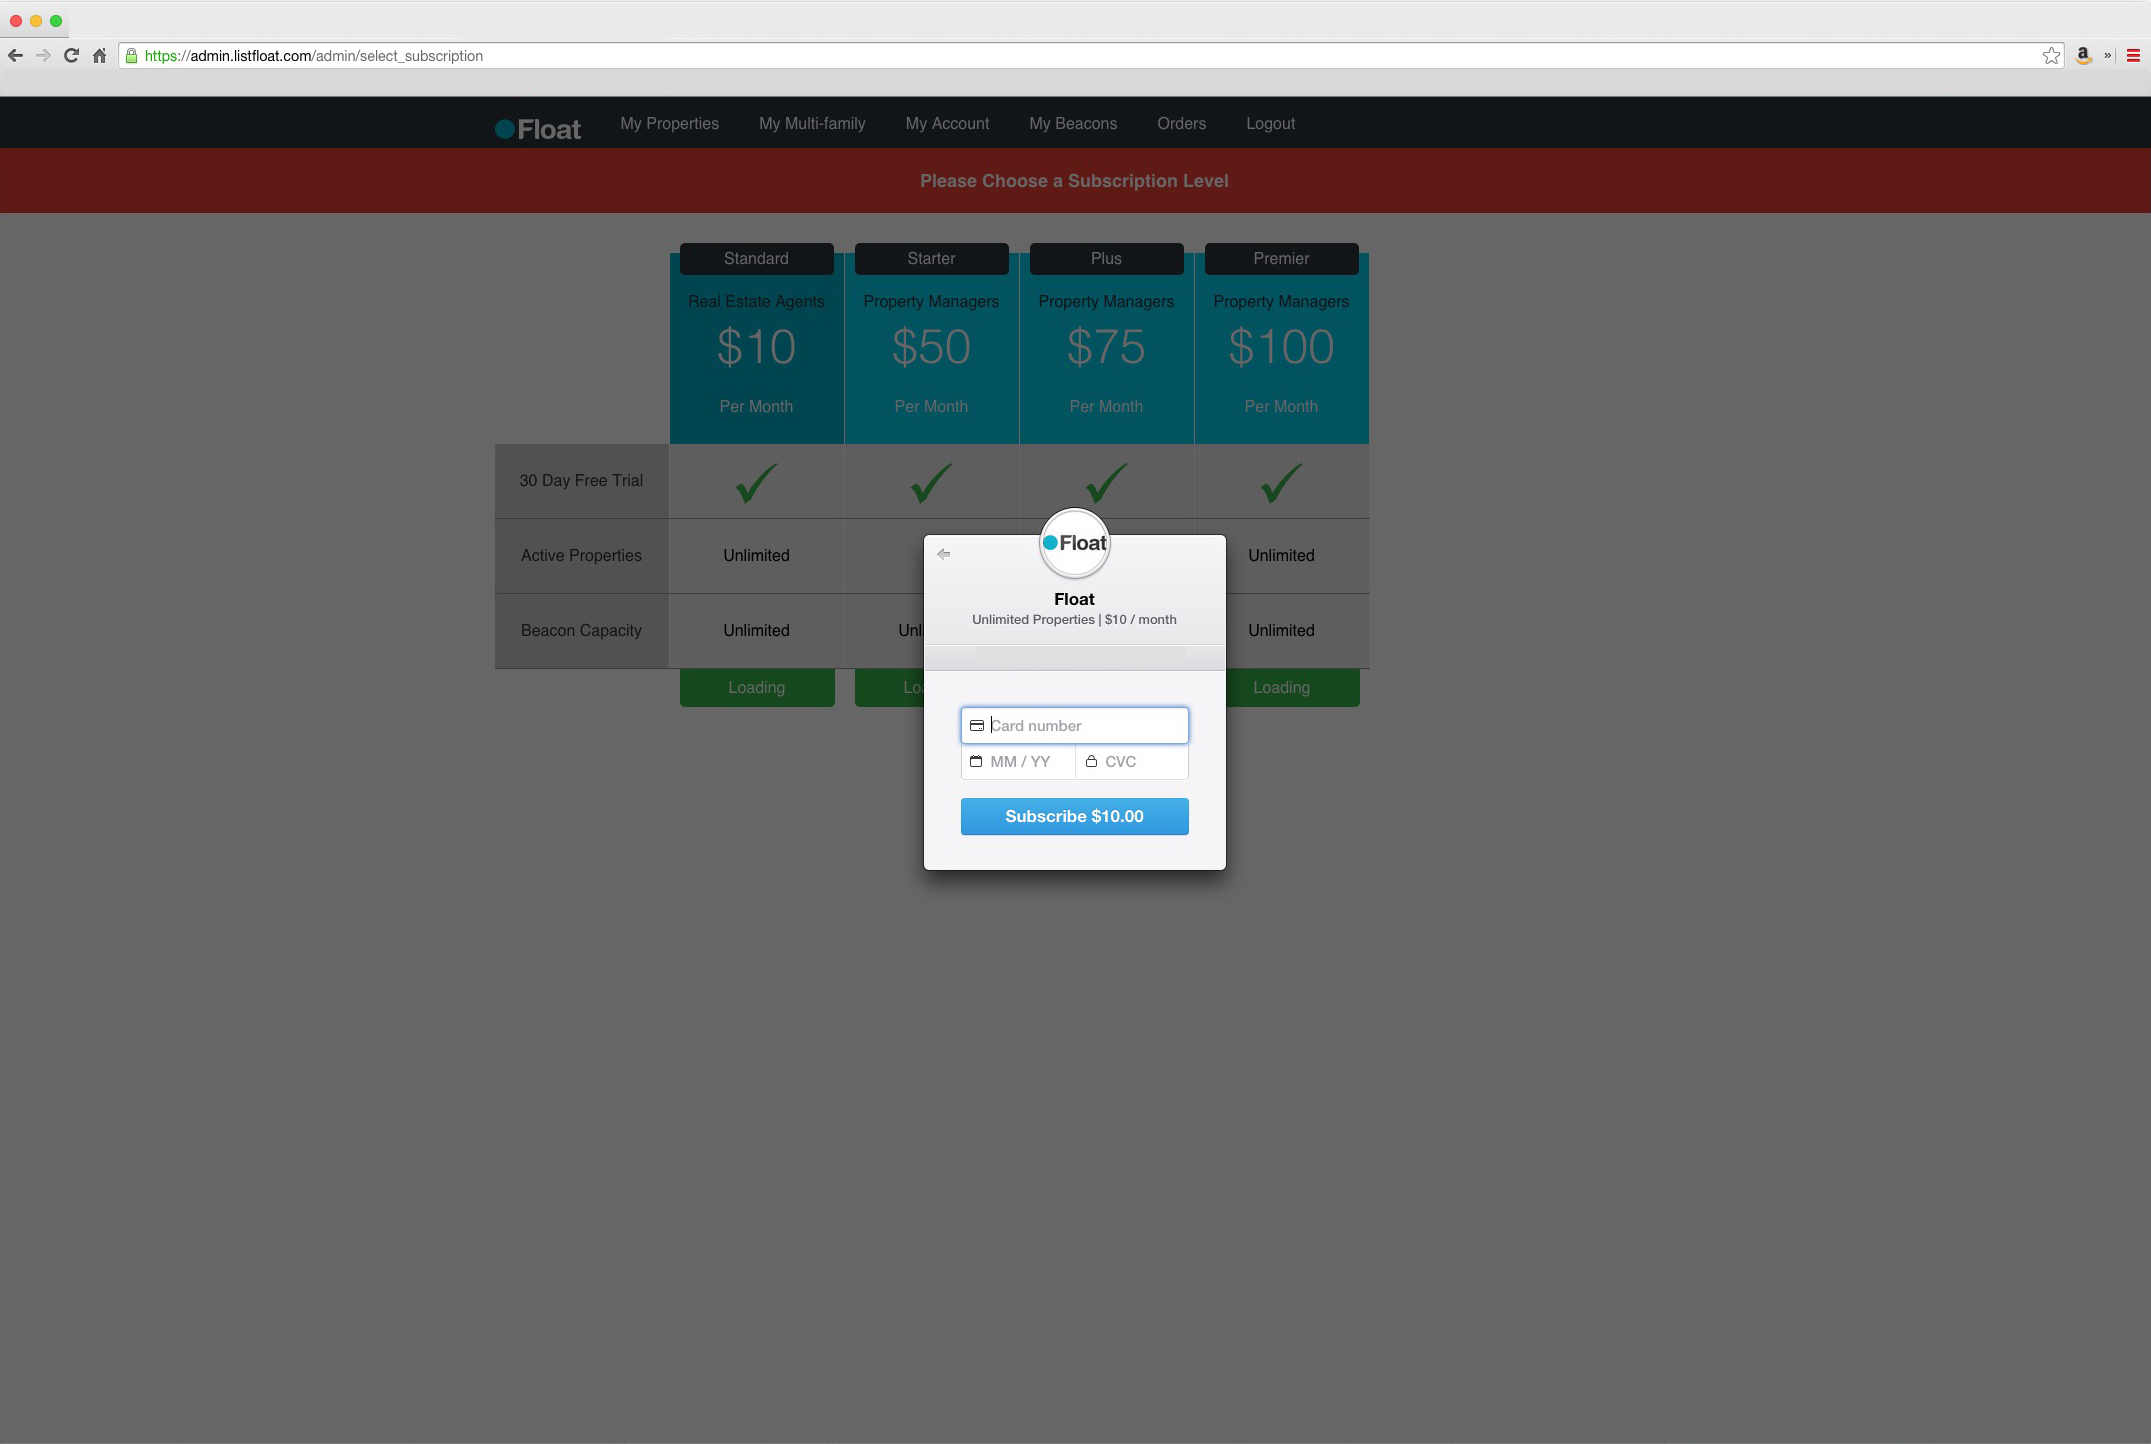
Start Your Subscription
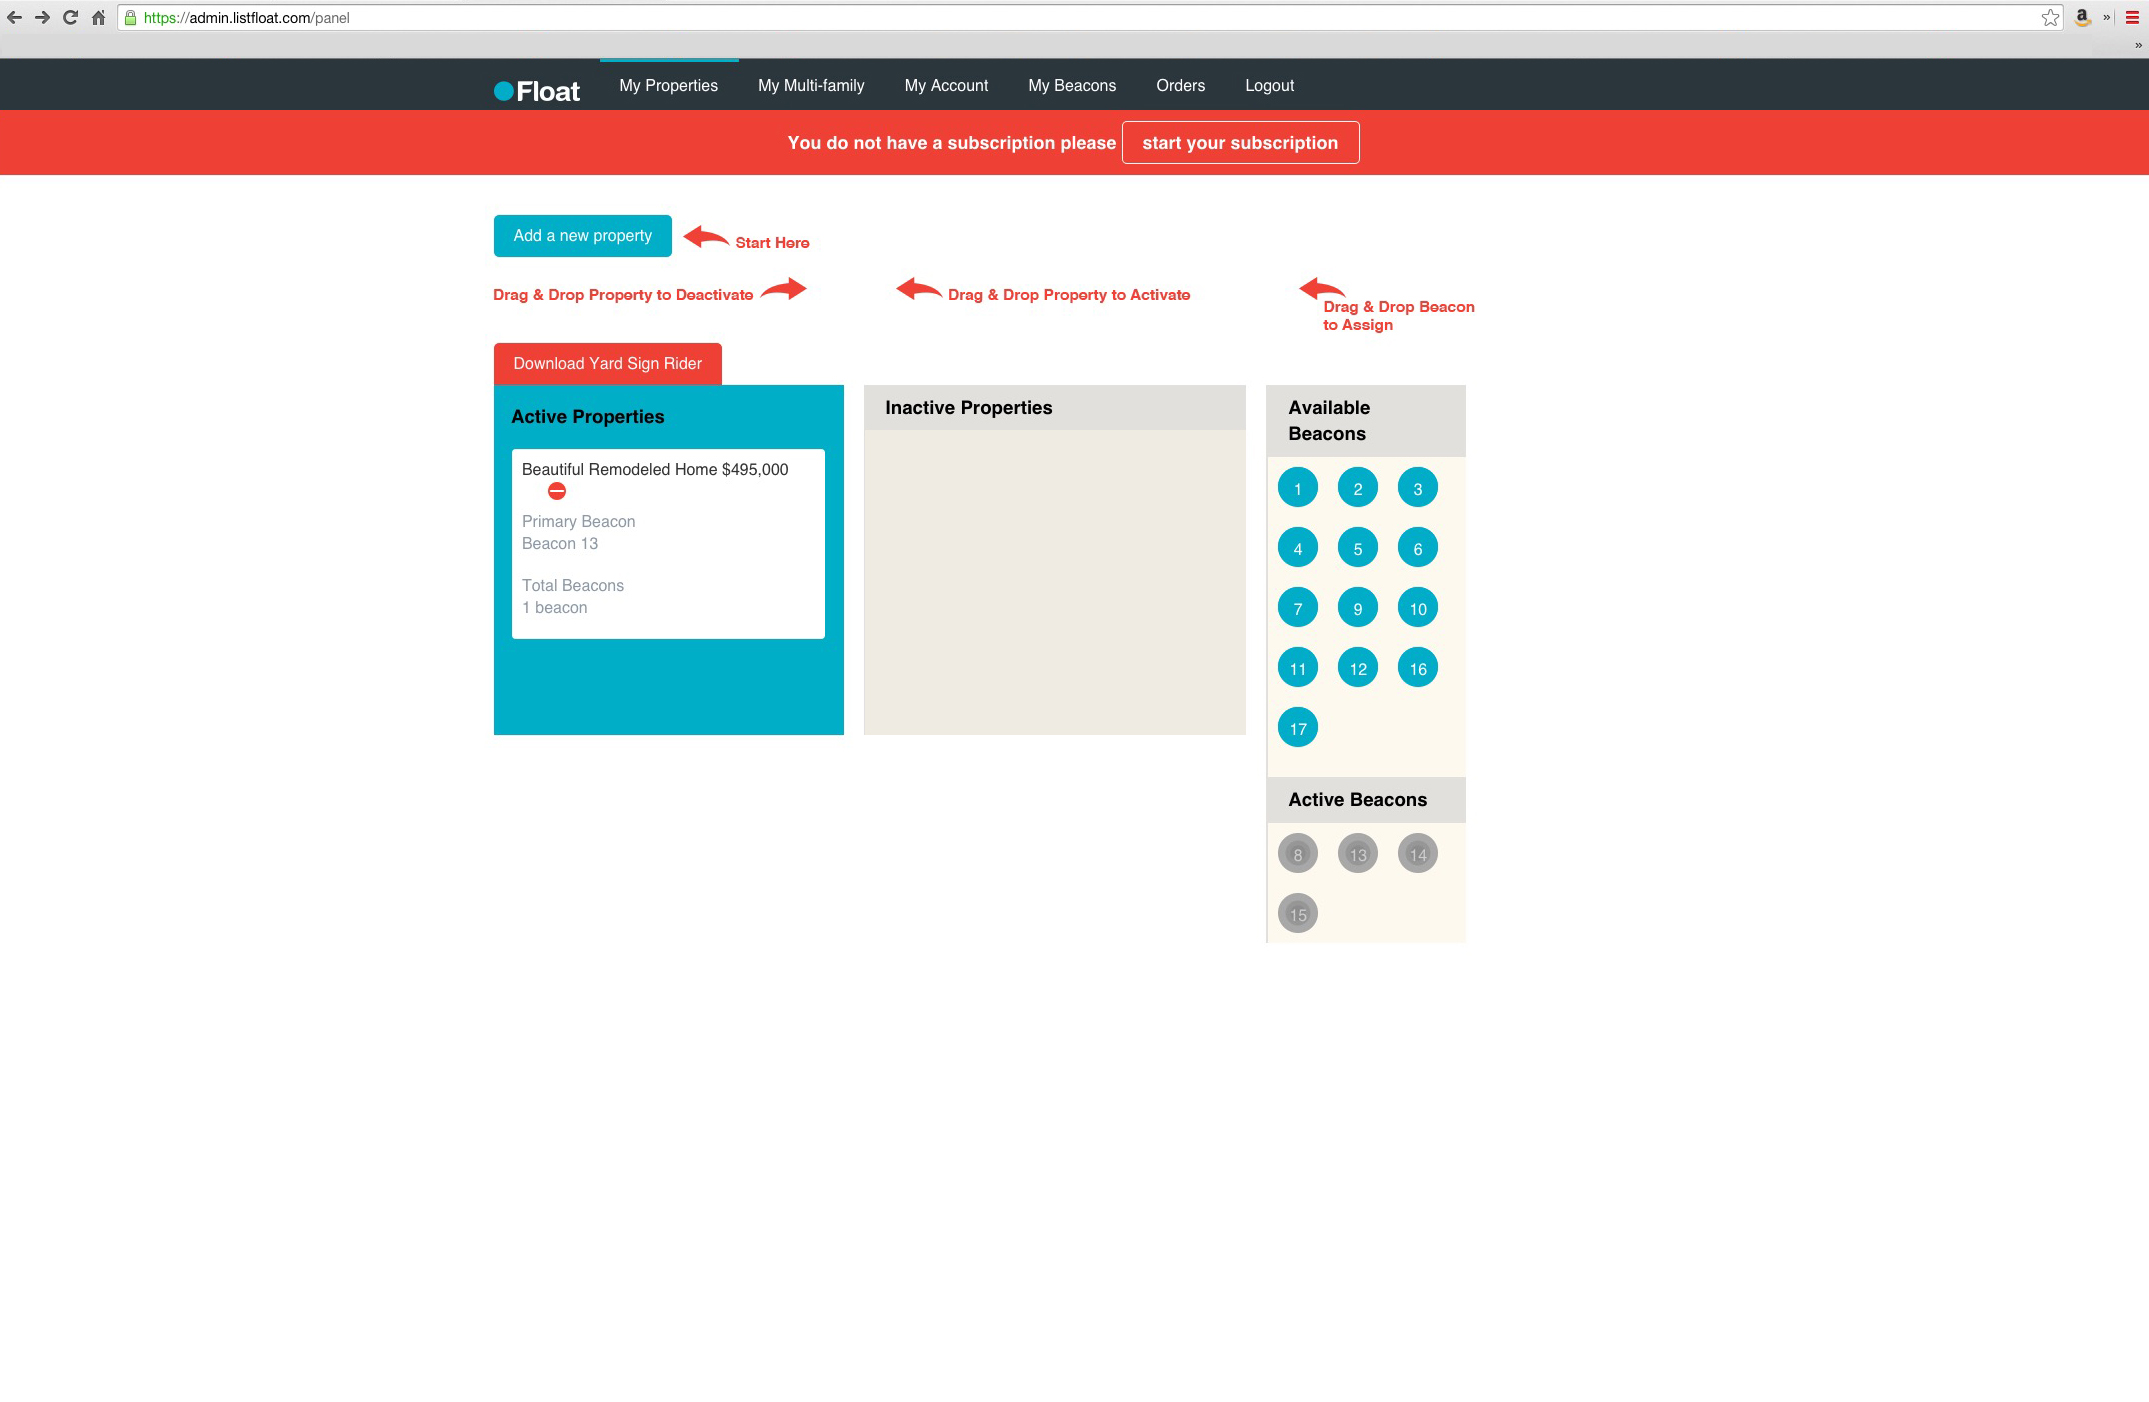
- From the My Properties home page, click the button to Start Your Subscription.
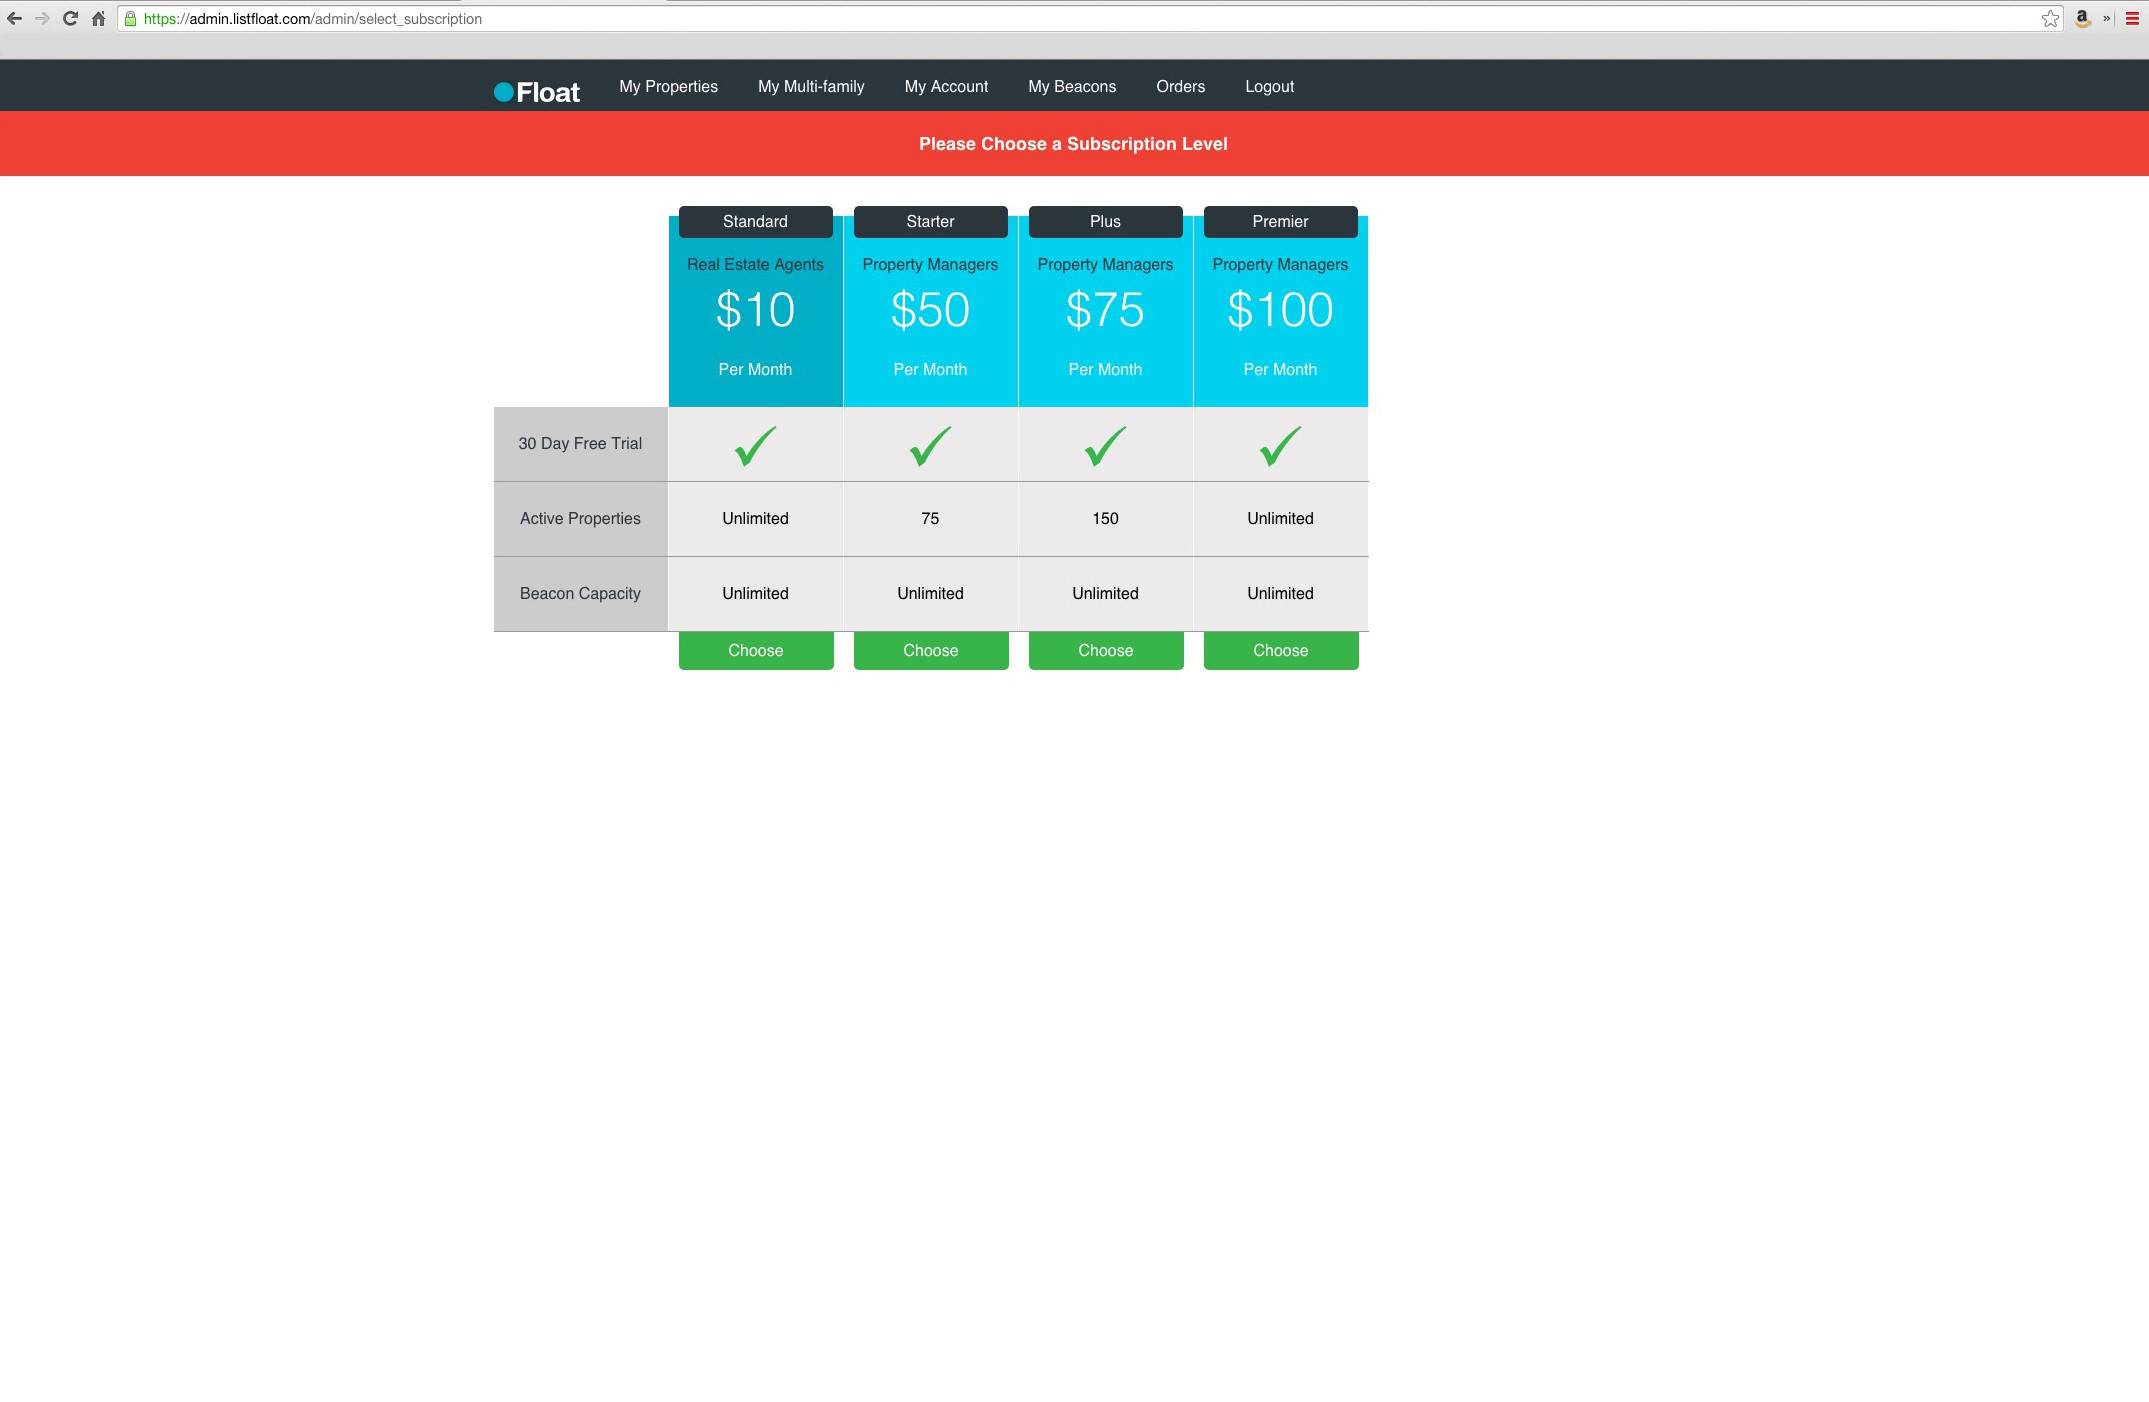
- Select the appropriate subscription level.
- Enter your billing information.
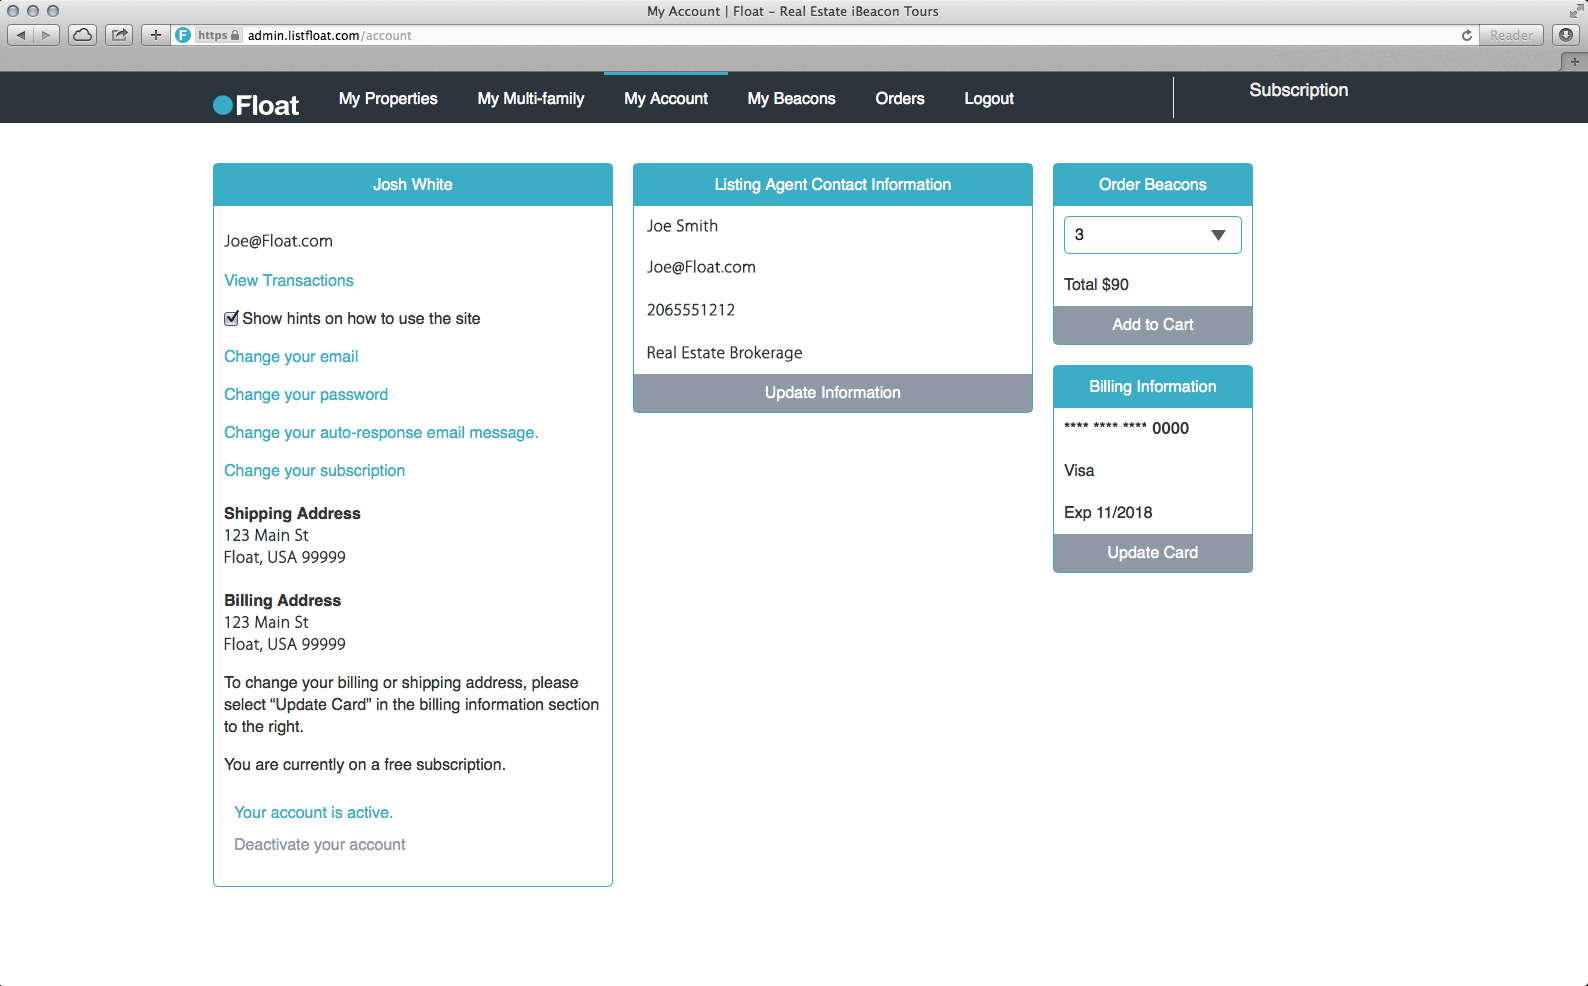
Order Beacons
- From the My Account page, select the number of Float Beacons you would like to order.
- Proceed to checkout.
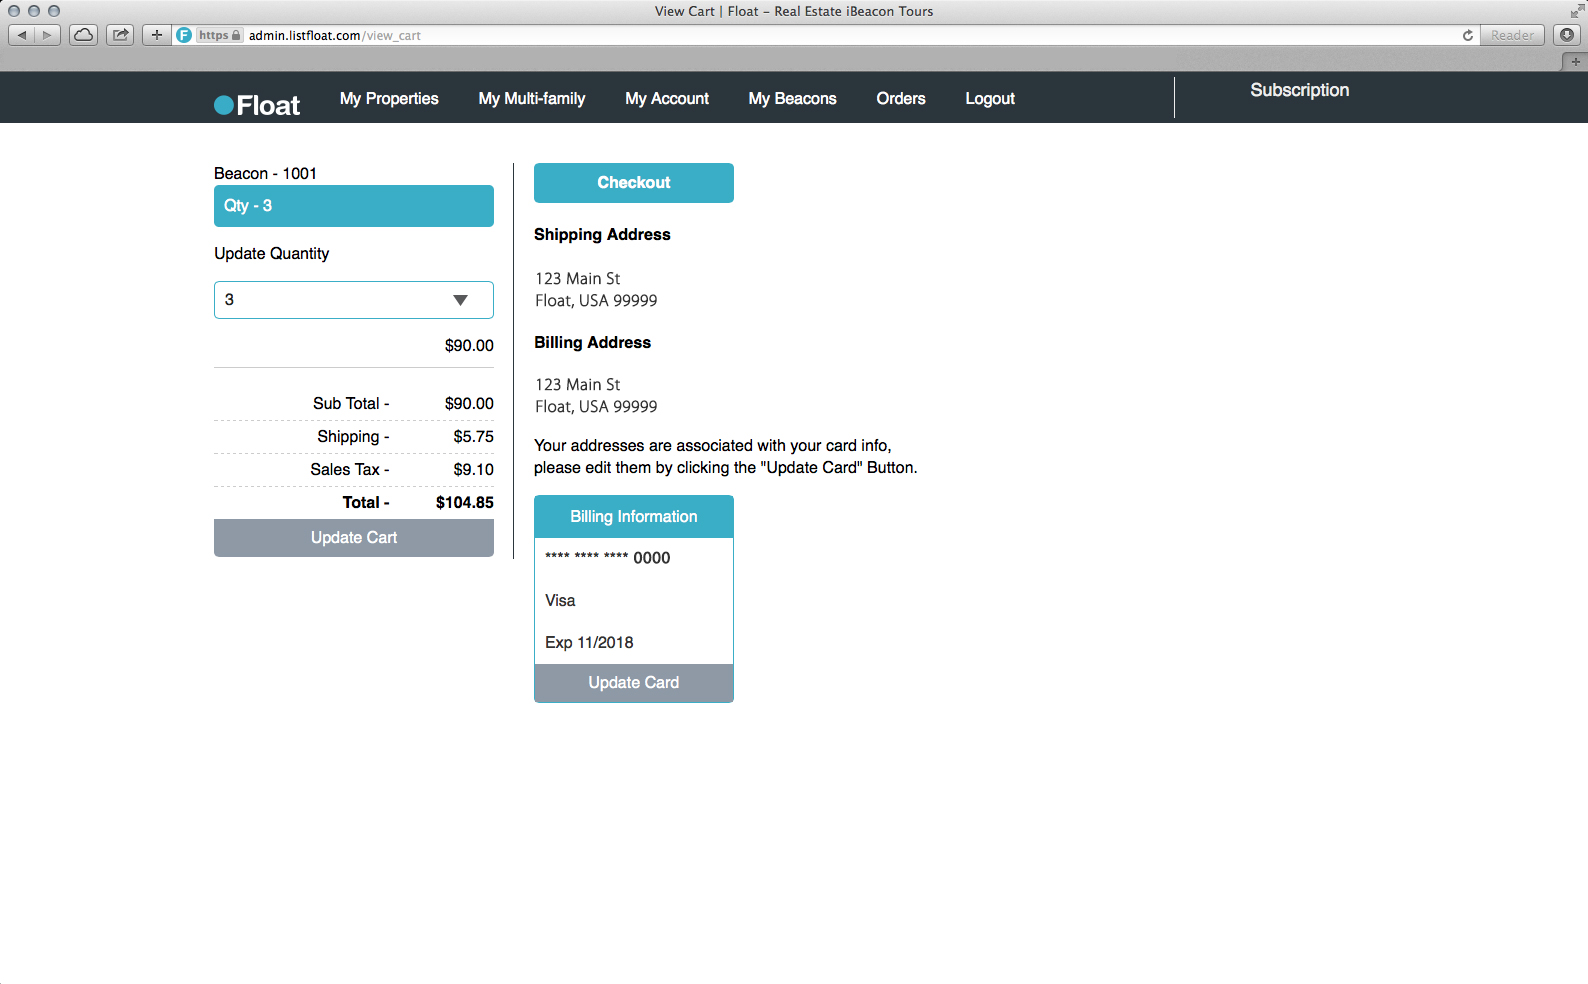
- Once your order is processed, the beacons will be shipped to you and appear as available beacons in your account.

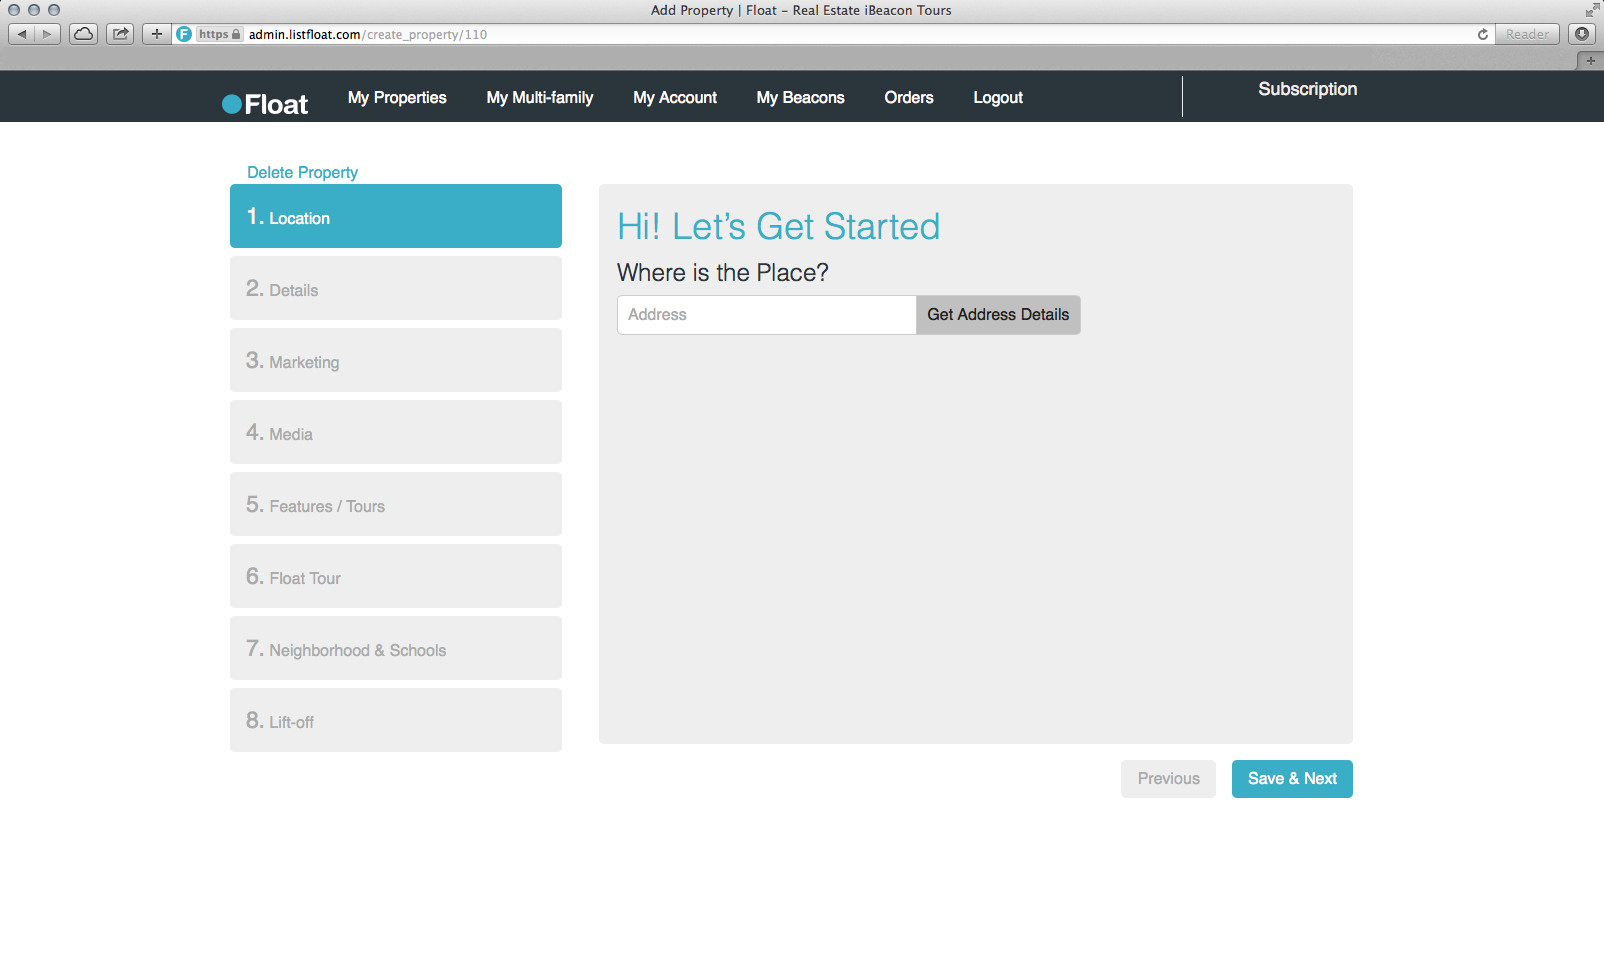
Create a Listing
- From the My Properties panel, select “Add a New Property”.
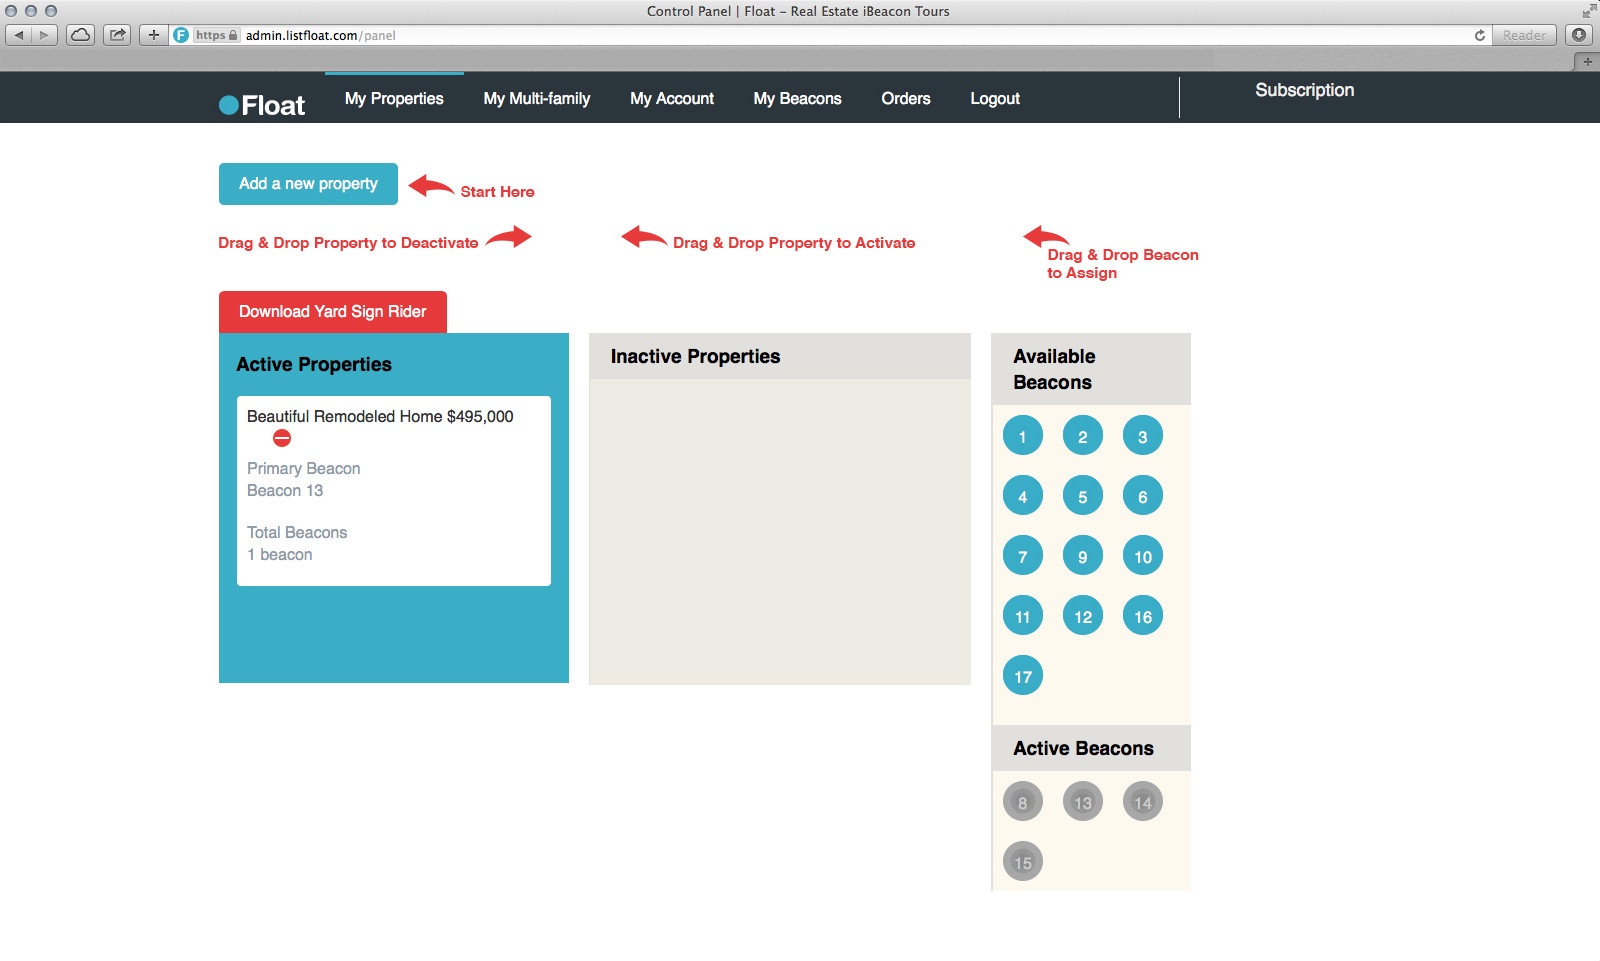
- Follow the tutorial to enter the property information. In the Float Tour section, assign beacons to your property.
 Direct People to the App to View Your Tour
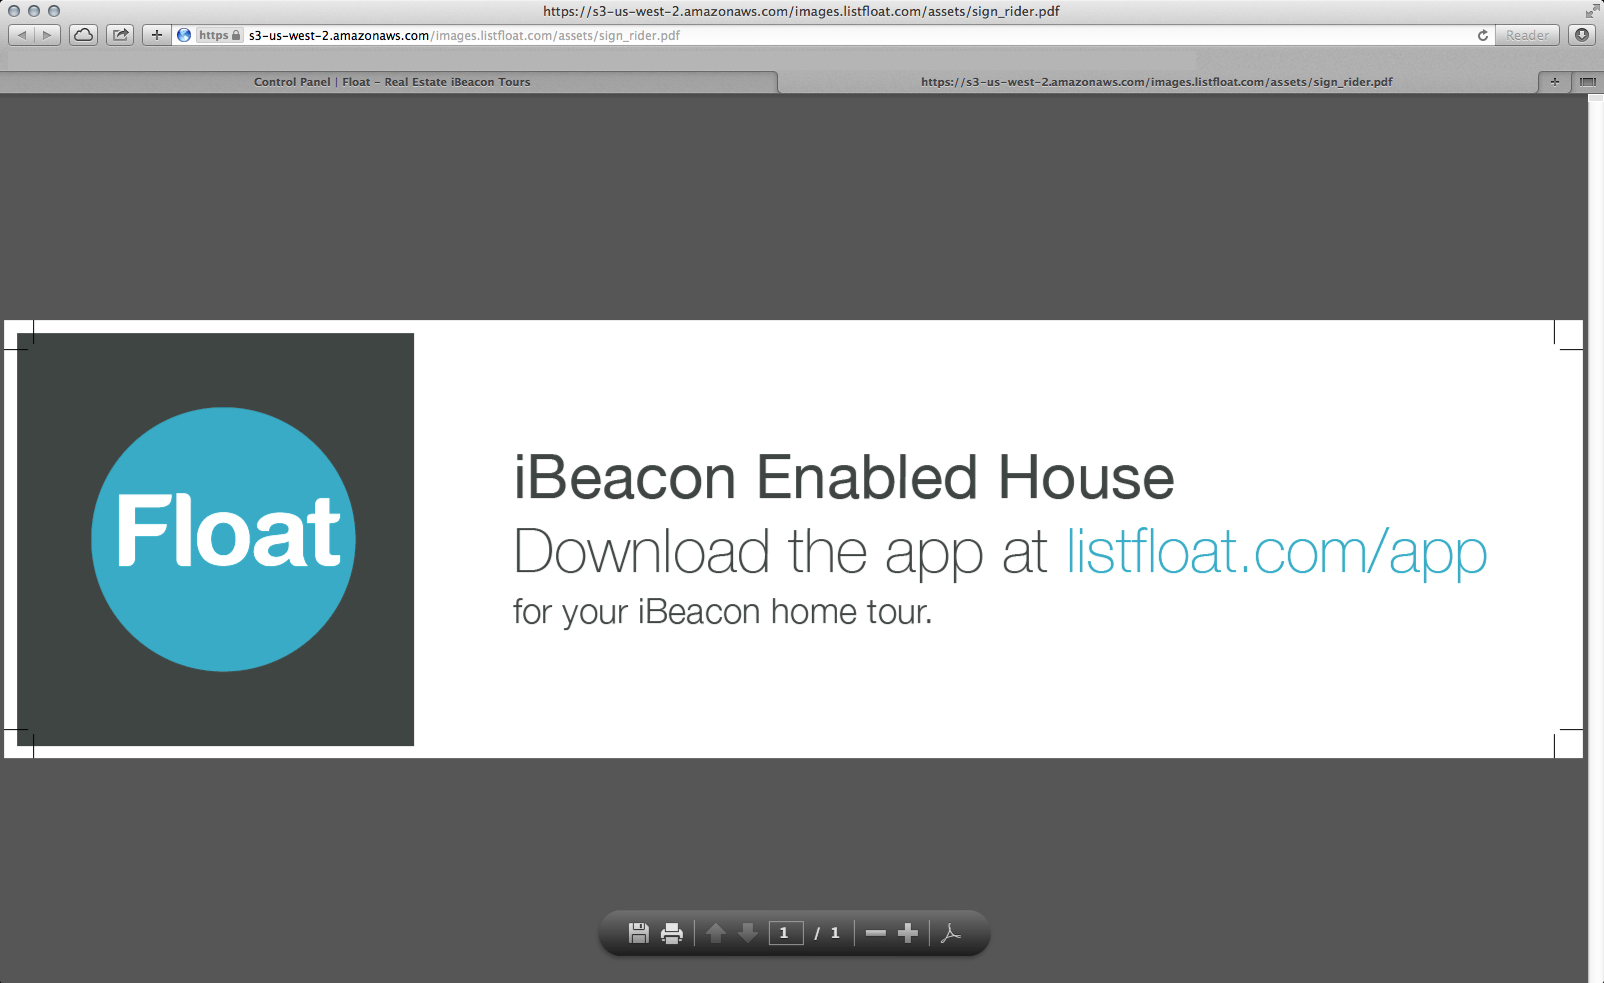
- Download the yard sign rider from the My Properties page. Print and install it at the property so people know the home is Float enabled.
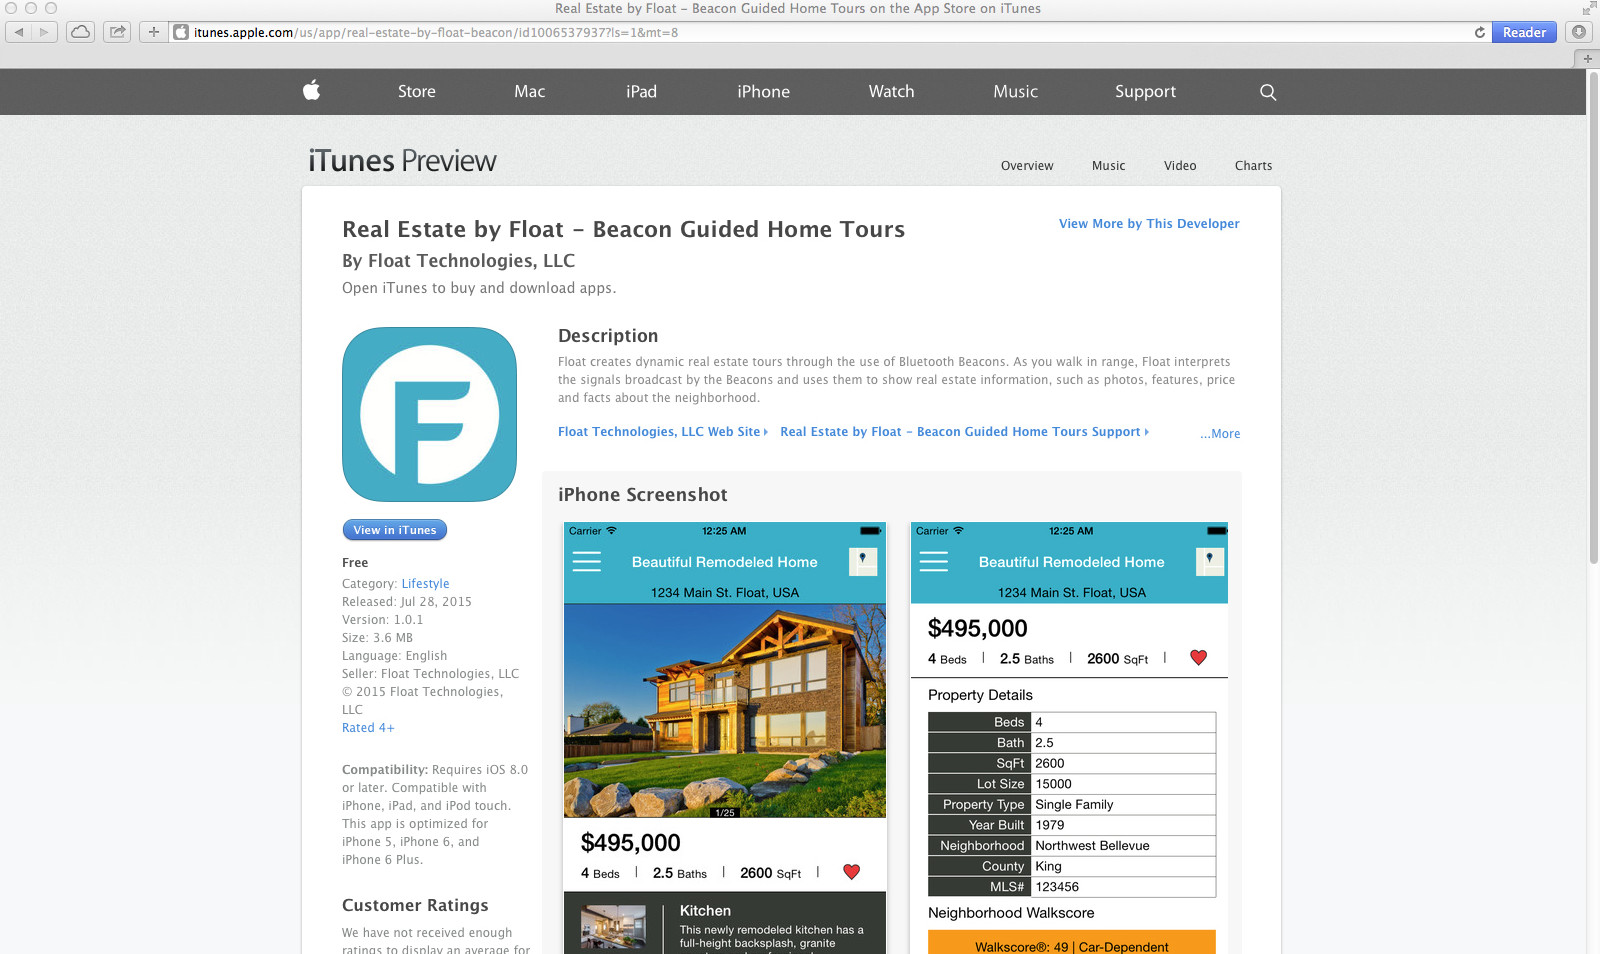
- Send them to listfloat.com/app, or search for Float in the App Store.
- Of course if there’s ever an issue, you can always contact us for help.


